We are focused on making the power of raw nutrition more available and more convenient for pets and pet parents everywhere.

At Drools, we are dedicated to your pets health. Our veterinary nutritionists have spent years on perfecting the recipes of our products to give your pet wholesome nutrition with mouth-watering taste.
Read More
Our Story
At Drools, we are dedicated to your pets health. Our veterinary nutritionists have spent years on perfecting the recipes of our products to give your pet wholesome nutrition with mouth-watering taste.
Your pet’s health and well-being depends on their nutritional intake, making it of paramount importance that you choose the best quality food for your furry friend’s specific dietary needs. Hence, DROOLS®, after years of extensive research, has developed the perfect diet for your pet, considering absorption, taste, and digestibility.
We pay utmost attention to add high-quality ingredients to our nutritionally dense and bio-available products, which helps to maintain your pet’s health and longevity.

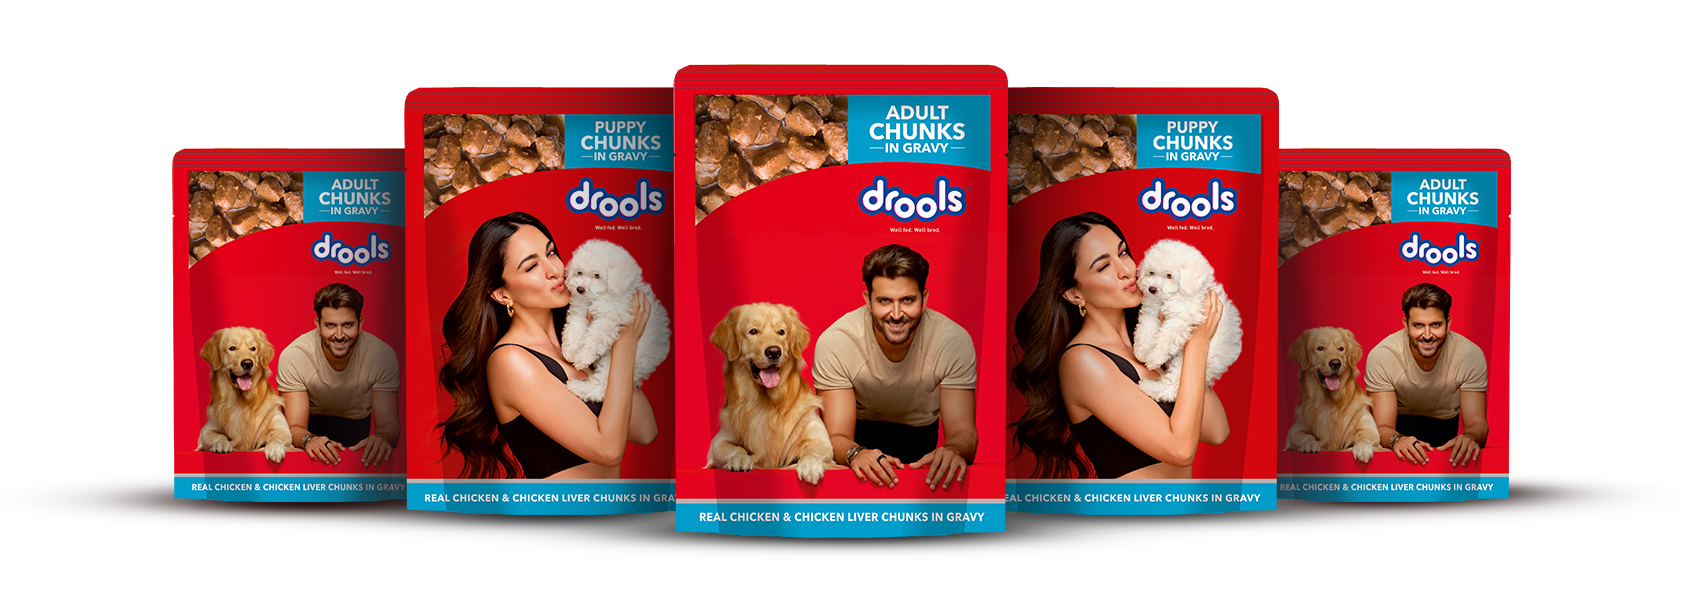
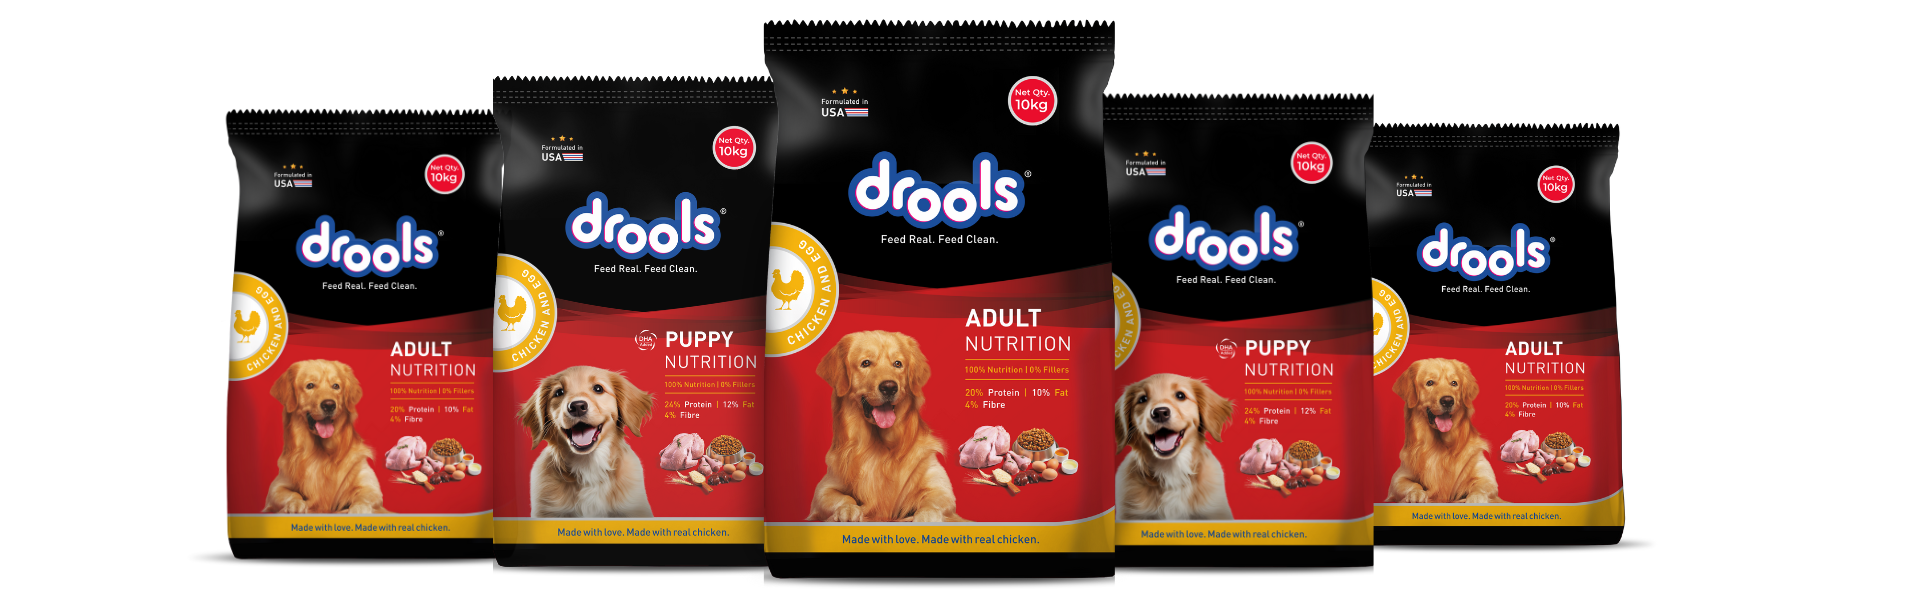
100% Real Chicken

Digestible Protein

No Added Hormones Or Antibiotics

No By-Products
We use real chicken which is a clean combination of flesh and skin with or without bone. The other parts such as feathers, head, feet and entrails are strictly not used in our product.
A complete and balanced diet which delivers all the nutritional value to your canine. Formulated with a balanced ratio of protein and fat, it is highly palatable and encourages a healthy digestive system along with great taste which boosts your pet’s appetite.
Contains Omega 3 & 6 fatty acids to maintain healthy skin and coat; all the essential vitamins, minerals and nutrients to promote joint health, better digestibility and help control tartar build-up.
Only 100% Real Chicken. No fillers. No by-products.
![]()
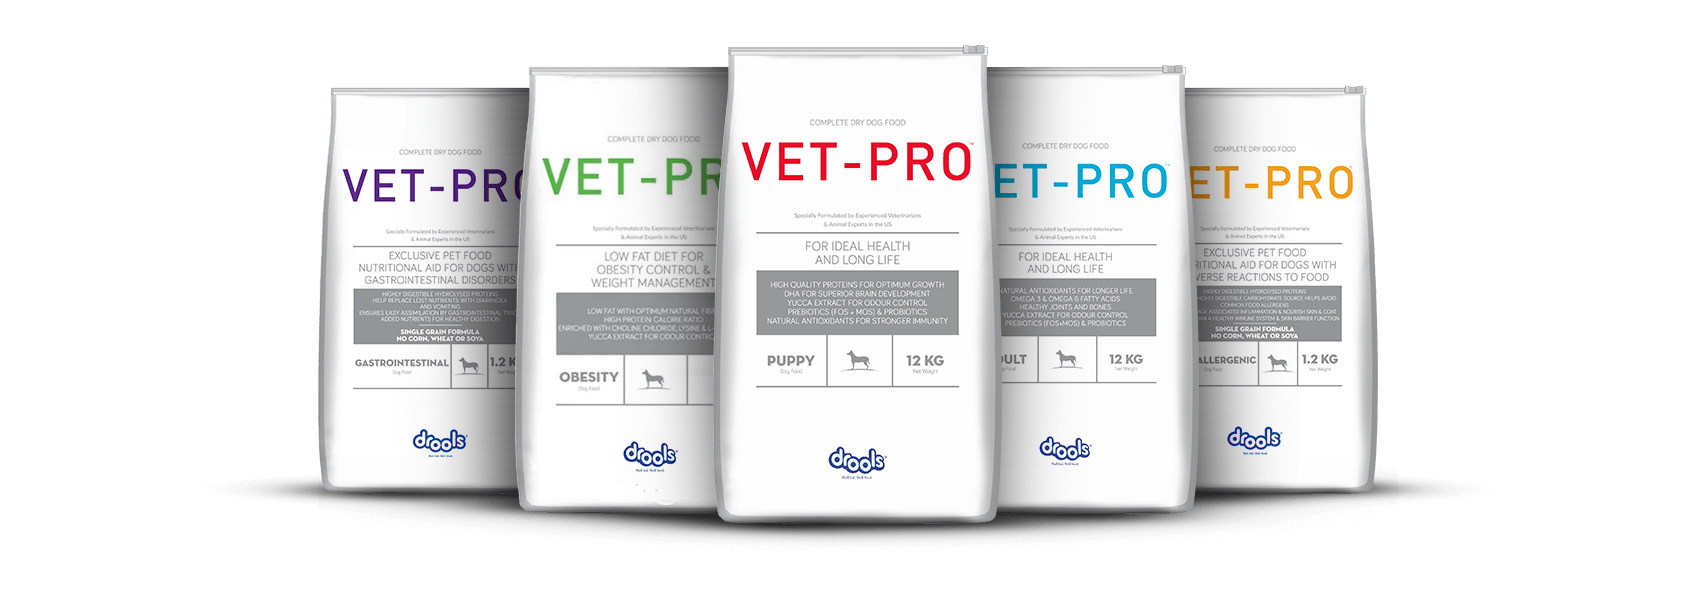
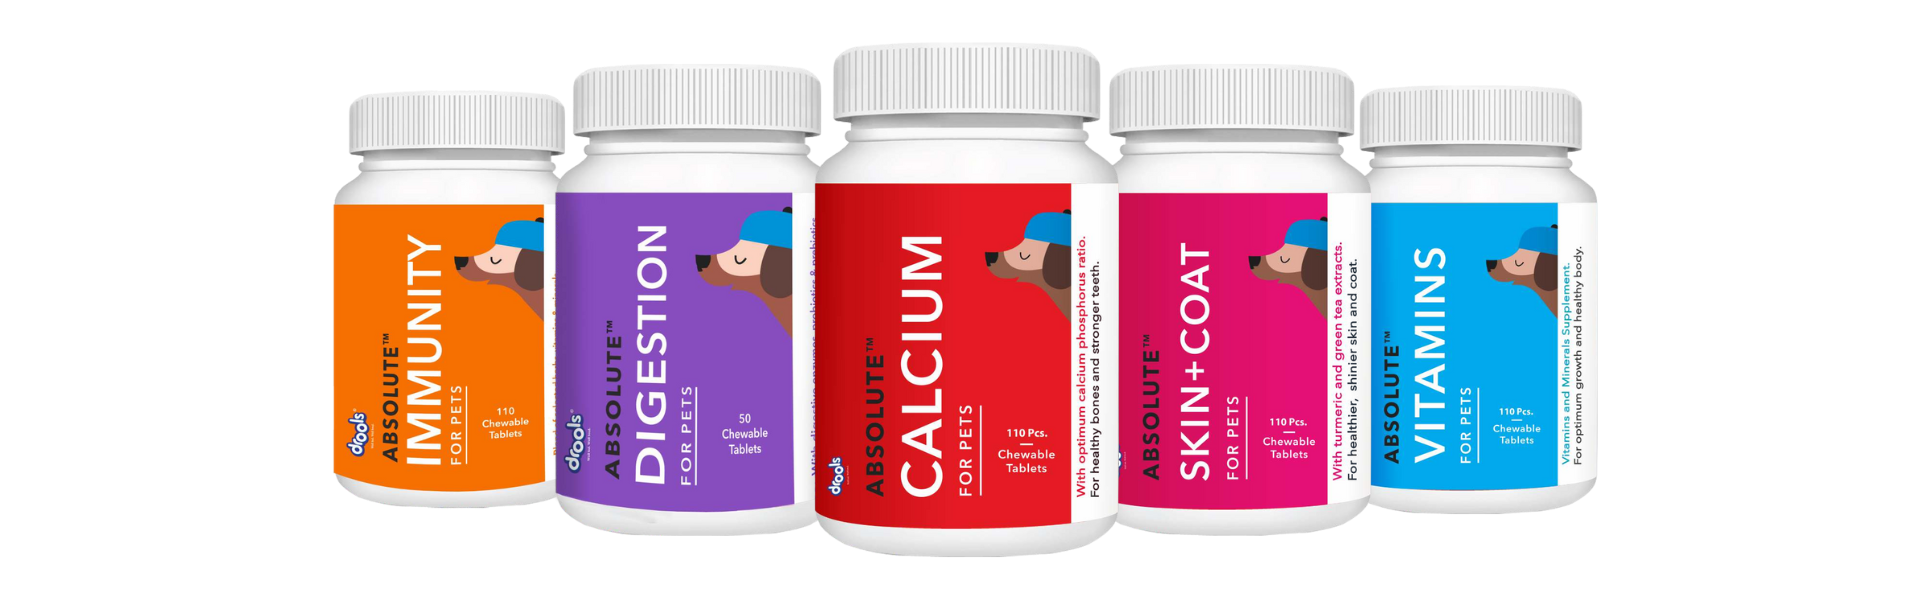
All our products are specially formulated by experienced veterinarians and animal experts from USA.
At Drools, your pet’s wellbeing is our #1 priority. We believe the food that reaches your pet’s bowl, should be nutritious, well balanced and tasty.
![]()
We proudly stand behind our product. If you are not fully satisfied, please call us and we will help you with a product replacement.
Drools is the reason behind many happy & healthy pets.
Scroll down to read why they love Drools.

Being a first-time pet owner, I was a bit worried about what to feed my newly adopted indie breed. After careful consideration, I chose Drools, and it turned out to be the best decision I've ever made. Their food has contributed to my pet's overall well-being. Thanks to Drools, I'm on the right track in providing my pet with the nutrition they truly deserve

Switching to Drools was the best decision I made for my pet's health. Their ingredients improved my pet's digestion and overall vitality. The joy in their eyes during mealtime is proof enough that we've found the perfect kibble!

Ever since we switched to Drools, our fur baby's energy levels have gone through the roof! Not only is their food delicious, but we've also noticed a remarkable improvement in their coat's shine and overall health. Thank you for providing our pet with the best nutrition!
timings
Monday - Friday, 9 am - 5.30 pm
phone
1800-270-3585 (Toll Free)
address
WeWork, Embassy One, 8 Bellary Rd,
Dena Bank Colony, Ganganagar,
Bengaluru, Karnataka 560032
Drools Pet Food Private Limited ,436/2,
IB Corporate House, Village Indamara,
Post Pendri, Rajnandgaon,
Chhattisgarh - 491441, India.
Sign up today! From training tips to special offers, get the tools you need to keep your pet happy and healthy.